
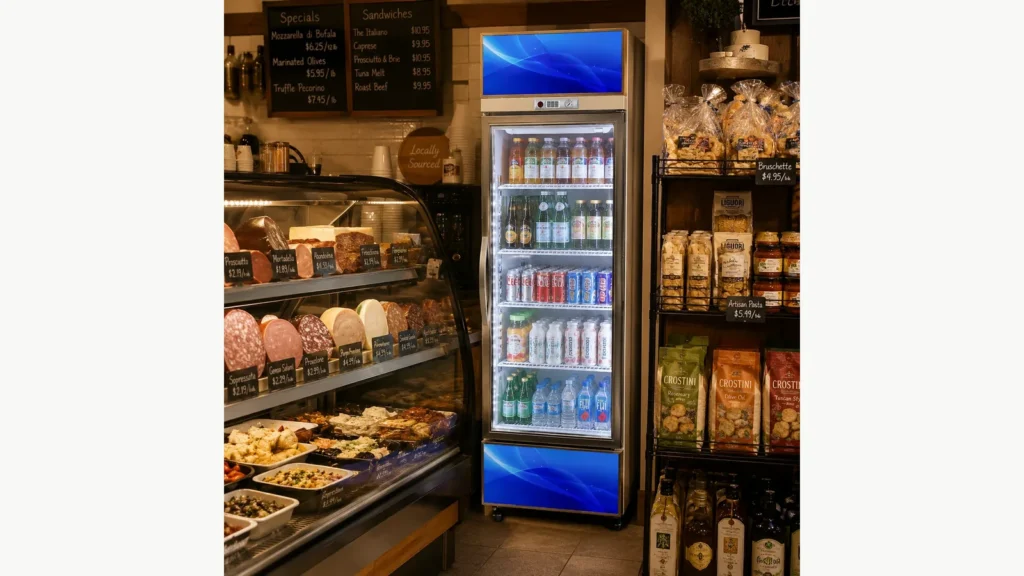
Beverage coolers for deli shops work best when the cabinet is planned as part of the service flow, not placed in whichever gap remains beside the counter. The cooler needs to be visible to customers, reachable without crossing the order queue, easy for staff to refill, and accessible for cleaning and service.
Begin with five zones on the floor plan: the cabinet footprint, customer selection space, door-swing space, staff refill route, and service access. Only after those zones fit should you decide whether the one-, two-, or three-door configuration belongs in the store.
Start With the Deli's Five Operating Zones
Draw the counter, queue, pickup point, entrance, tables, waste station, and back-stock route to scale. Then place the beverage cooler and shade five distinct areas around it.
| Zone | What to show |
|---|---|
| Cabinet footprint | Exact ordered width, depth, height, and adjustable feet or base condition |
| Customer zone | Standing space and approach without obstructing the order or pickup line |
| Door-swing zone | Full opening path for every glass door, including nearby handles and displays |
| Refill route | Path from beverage storage to the open cabinet with a trolley or cartons |
| Service/cleaning zone | Access required by the approved product guidance and service plan |
These zones can overlap at different times, but the overlap must be deliberate. For example, staff may restock before opening or between peaks. A permanent table, promotional stand, or queue barrier should not occupy the only door-opening or service space.
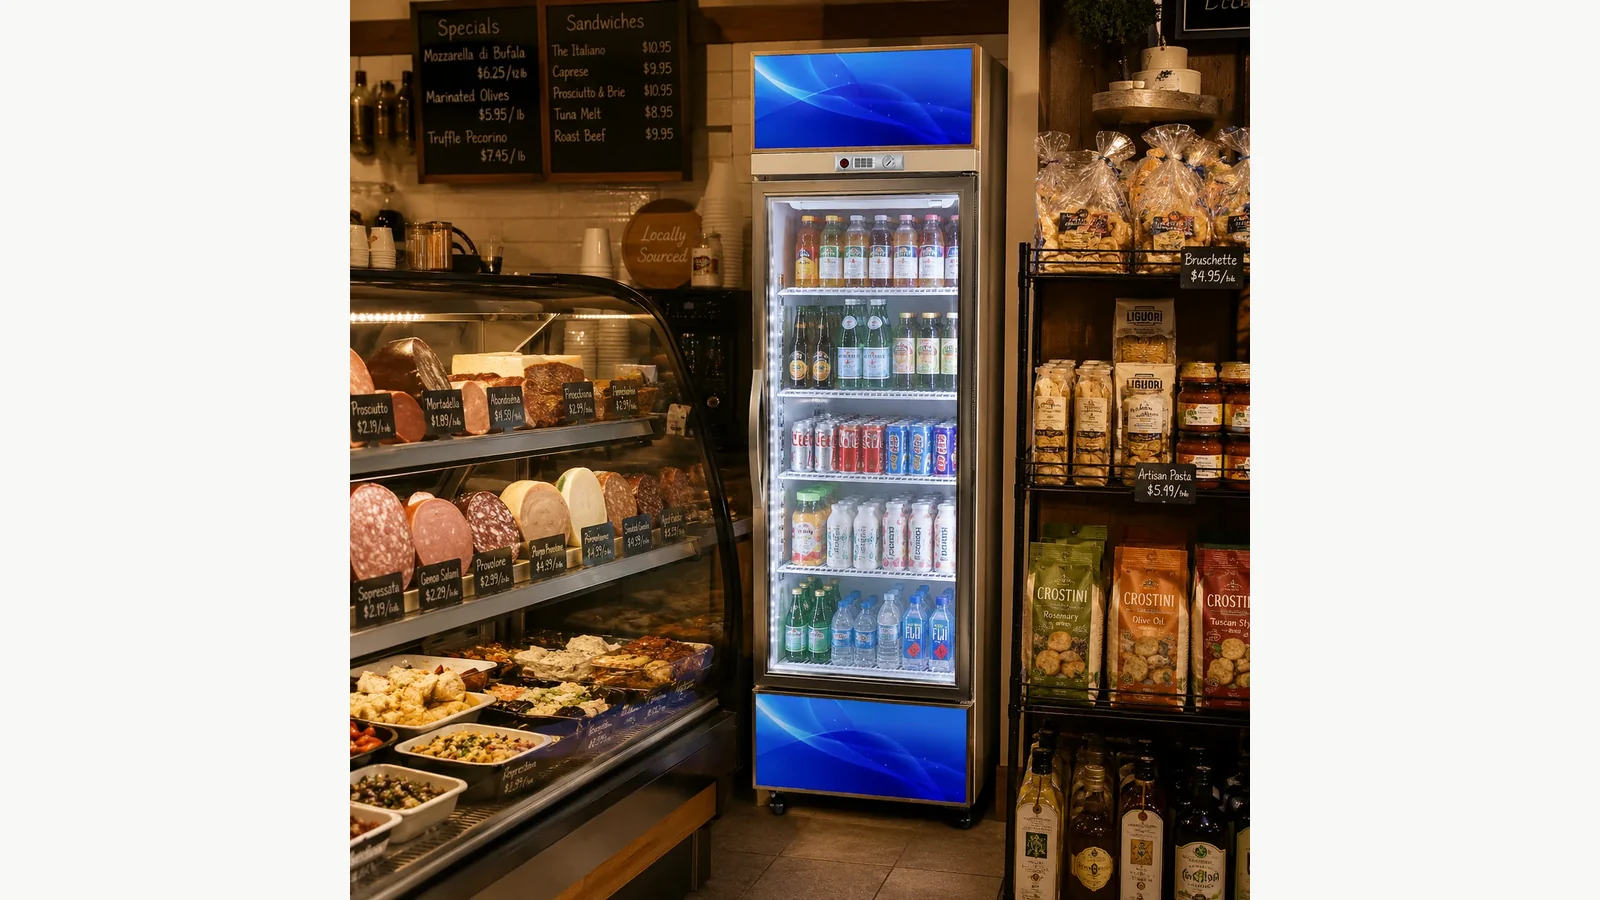
The cooler shown above is a real application image tied to the exact Beverage Cooler product. The adjoining deli case is a separate product serving a separate temperature and merchandising role; the beverage cooler should not be specified as a substitute for the deli display case.
Compare Door Count After Measuring the Workflow
ICEAGE currently lists one-, two-, and three-door configurations on the commercial beverage cooler product page. The current published values provide a useful first comparison:
| Doors | Listed capacity | Listed dimensions (W × D × H) | Listed power | Listed net weight |
|---|---|---|---|---|
| 1 | 400 L | 600 × 620 × 2050 mm | 92 W | 40 kg |
| 2 | 875 L | 1200 × 620 × 2050 mm | 148 W | 85 kg |
| 3 | 1300 L | 1800 × 620 × 2050 mm | 218 W | 120 kg |
Treat these as current product-page data to be confirmed for the final order, voltage, and market—not as a complete installation specification. The width rises in clear 600 mm steps, but the operational decision is not just “more doors equals more sales.” A larger cabinet also takes more wall length, creates more customer positions, needs a wider refill task, and may expose delivery-route constraints.
A compact deli with a short beverage list may benefit from one clearly arranged door and frequent, simple refills. A busy location with distinct water, juice, dairy drink, and soft-drink zones may need two or three doors. Use the actual SKU list, package sizes, daily movement, peak traffic, and available back stock to test the choice.
Build the Shelf Map Before the Purchase Order
The product page lists adjustable shelves with five or more layers. Adjustable does not mean every beverage mix will fit automatically. Build a shelf map using the planned bottles, cans, cartons, and multipacks.
For each SKU, record package height, width, depth, proposed facings, refill quantity, and expected refill frequency. Leave enough vertical clearance for staff to remove a product without scraping the shelf above. Group items in a way that customers can understand quickly at the moment they collect an order or wait in line.
One practical draft might place small, high-frequency bottles between eye and hand level, taller packages in a verified shelf bay, and reserve stock that needs less visibility lower in the cabinet. The exact arrangement depends on the store's customer mix and packaging. A generic shelf diagram is inadequate until the actual bottles have been measured.
Photograph the approved shelf layout and keep a dated SKU-to-shelf map. When suppliers change bottle height or a new product is introduced, staff can revise one bay deliberately rather than compressing every shelf over time.
Keep the Door Swing Out of the Queue
Glass doors create a moving boundary. Mark the full sweep of every door on the floor plan and repeat the check with a customer standing at the handle. Confirm that opening one door does not block the deli pickup point, strike a chair, trap a trolley, or force the customer backward into the order line.
The apparent front clearance in an empty store can be misleading. Test the layout with the planned queue barrier, counter stools, promotional boards, waste bins, and any impulse display in place. If the cooler sits near a corner, confirm that the outer door can reach its required opening position without hitting the side wall or projecting counter.
Keep the customer standing area separate from the only refill space. During a rush, staff carrying cartons should not have to move through customers opening glass doors. If routes must cross, define a refill time or a temporary traffic control method in the operating plan.
Draw the Refill Route From Back Stock
Walk from the storage position to the cooler with the actual trolley or largest carton expected. Measure doors, turns, ramps, counter gaps, and floor transitions. Decide where cartons can be staged without blocking food preparation, hand-wash access, emergency routes, or customer circulation.
At the cabinet, identify which doors staff open for each beverage category. A two-door model can be zoned so one door handles the fastest-moving drinks while the second covers slower categories, reducing unnecessary disturbance during small refills. A three-door model can make categories clearer, but only if the shelf map and back-stock labeling use the same zones.
The separate beverage-cooler door-count and shelf-layout guide explains how to translate the approved layout into a repeatable staff routine. For the deli project, add the physical refill route and service-counter timing to that handoff.
Match Product Temperature Range to the Merchandise
The listed beverage cooler range is 0–10°C and the page identifies direct cooling. That range helps define the product family, but it is not permission to choose one set point for every drink or food item. Verify the storage requirement for each SKU, local food-safety rules, ambient design conditions, and the supplier's guidance for the exact configuration.
Use a beverage cooler for products that are approved for its operating range. Frozen products require a freezer rather than an assumption that this cabinet performs frozen duty. If the deli sells temperature-sensitive prepared foods, confirm whether those items belong in an equipment category designed and approved for that use.
Plan air circulation when loading shelves. Product should not be packed in a way that blocks required air paths or exceeds the supplier's loading guidance. A shelf that looks full from the aisle may still be badly arranged for operation.
Survey Delivery and Installation Conditions
The listed cabinet width is only one part of access. Record the packaged dimensions and handling method supplied for the exact order, then survey the route from unloading point to final position. Measure clear door openings, lift car dimensions, corridor turns, thresholds, stairs, floor loading information, and overhead obstructions where relevant.
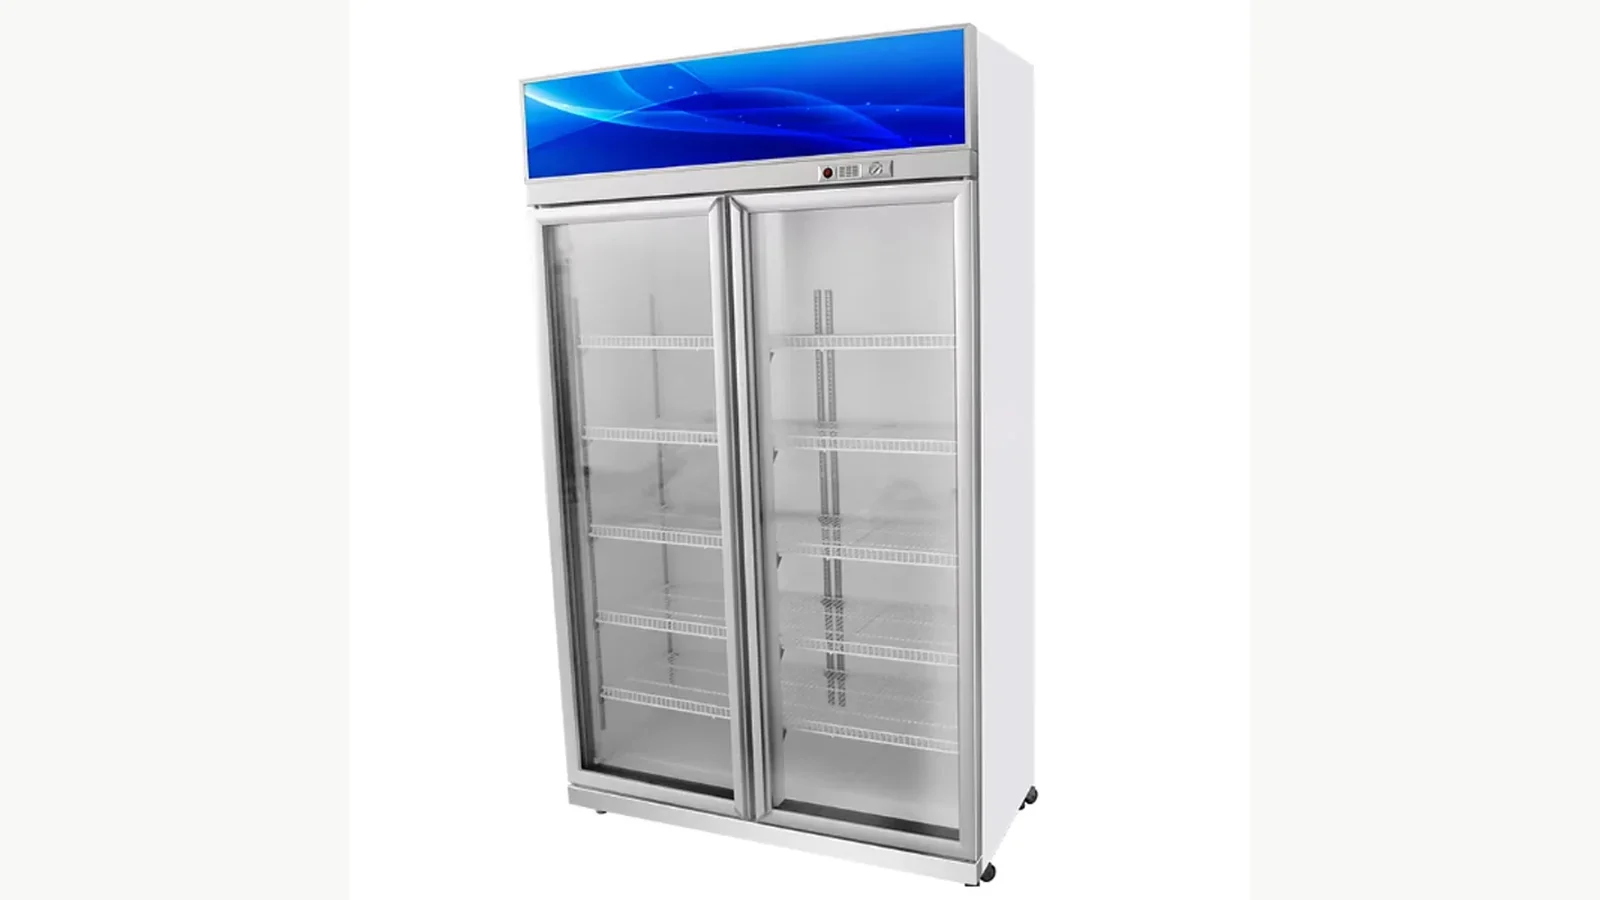
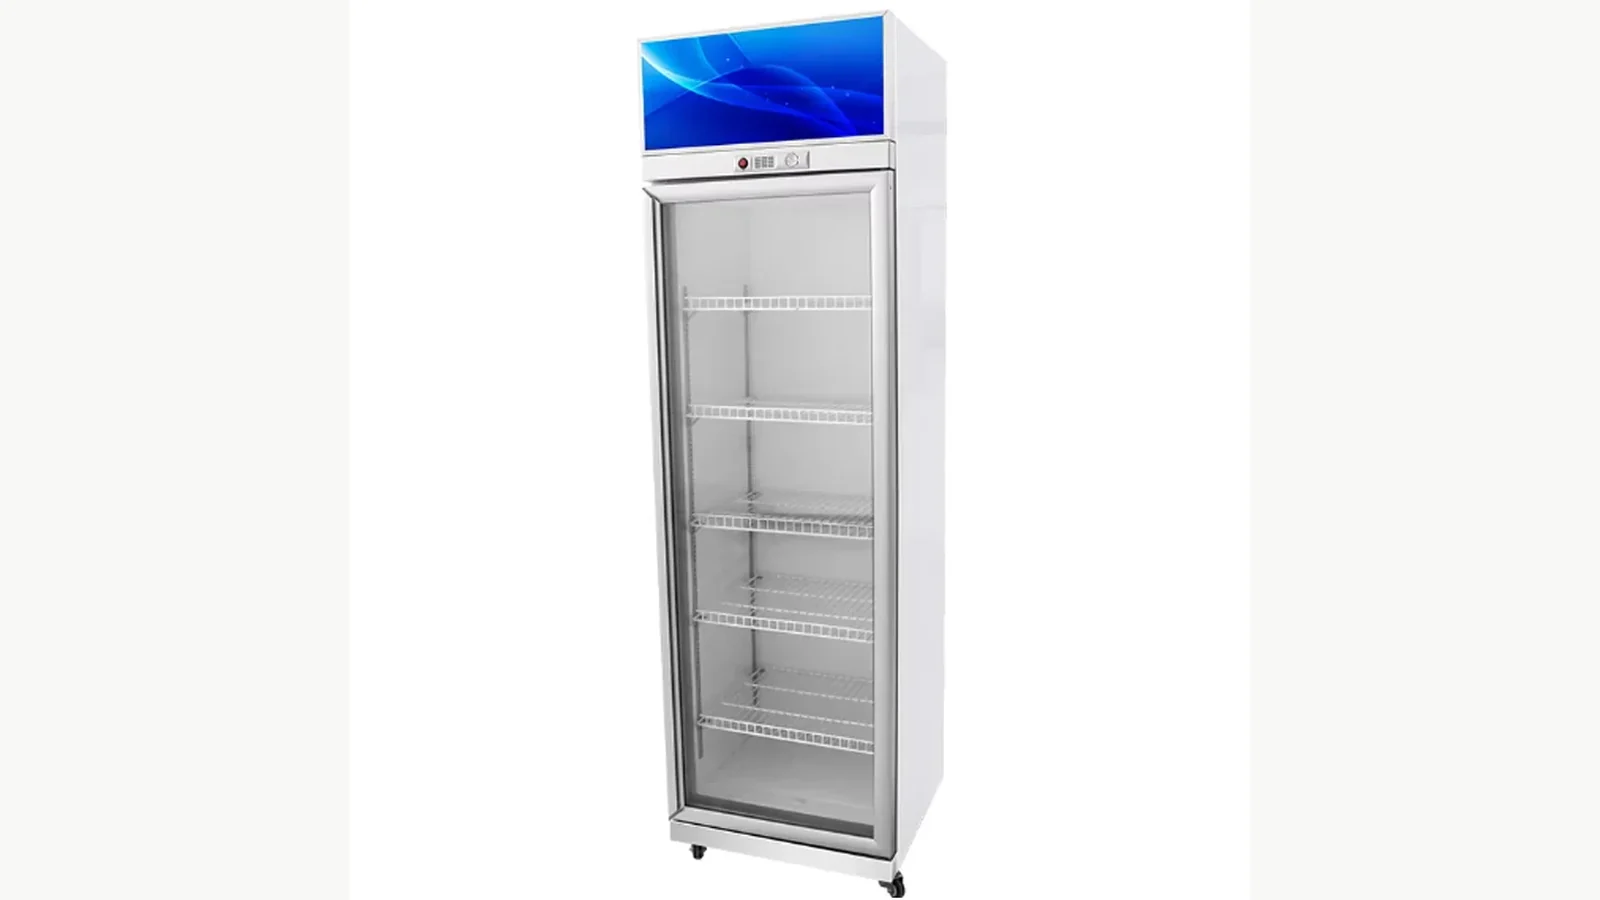
The one-door cabinet shown above in the earlier section and the two-door cabinet here are exact product-parent references. Their images help buyers distinguish cabinet format, but final dimensions, voltage, plug or connection arrangement, clearances, and handling data must come from the approved order documents.
At the final position, verify a level and suitable floor, the specified power supply, safe isolation access, required ventilation and service clearances, and a cleaning plan. Keep heat-producing equipment and sources of obstruction in the site review. A technician should confirm final installation conditions rather than inferring them from a marketing photo.
Ask for a Row-by-Row Quotation
The request for quotation should state the store address, installation environment, planned merchandise, preferred door count, quantity, voltage and frequency, finish, shelf requirement, delivery conditions, and required documentation. Ask the supplier to return one configuration sheet per cabinet.
Check these lines before comparing prices:
- exact model and current 400 L, 875 L, or 1300 L configuration;
- confirmed external dimensions, power data, net weight, and operating range;
- door count, opening direction where applicable, shelf quantity, lighting, and finish;
- electrical arrangement and any market-specific plug or connection details;
- packing, delivery boundary, unloading, positioning, installation, and commissioning scope;
- manuals, warranty terms, spare-parts route, and service support;
- exclusions and items that still depend on site data.
If one quotation includes delivery and placement while another stops at the shipping point, total prices are not comparable. Normalize the scope before choosing.
Handover With a Live Deli-Shift Check
Handover extends beyond confirming that the light switches on. Run the cooler under the supplier's commissioning procedure, record the required checks, and then perform a short operating walk-through with the deli team.
Open every door while the counter, queue markers, and nearby furniture are in their real positions. Load a representative shelf set within the approved guidance. Walk a refill carton from back stock. Confirm that staff can reach cleaning points and that no promotional fixture blocks service access. Label the cabinet and shelf zones to match the approved map.
Record temperatures using the method and timing appropriate to the product guidance and local requirements. If readings, door operation, lighting, noise, condensation, or access are outside the agreed acceptance conditions, log the issue and owner before sign-off.
Make the Cooler Part of the Service Plan
The strongest deli layout does not hide the beverage cooler and does not let it dominate the counter. It gives customers a clear choice point, gives staff a short refill route, and reserves the space needed to operate, clean, and service the cabinet.
Select the door count from the measured site and real SKU plan. Confirm the exact configuration on the purchase order. Then validate the arrangement during a representative deli shift. That turns a glass-door cabinet from an afterthought into a controlled part of the store's daily service.