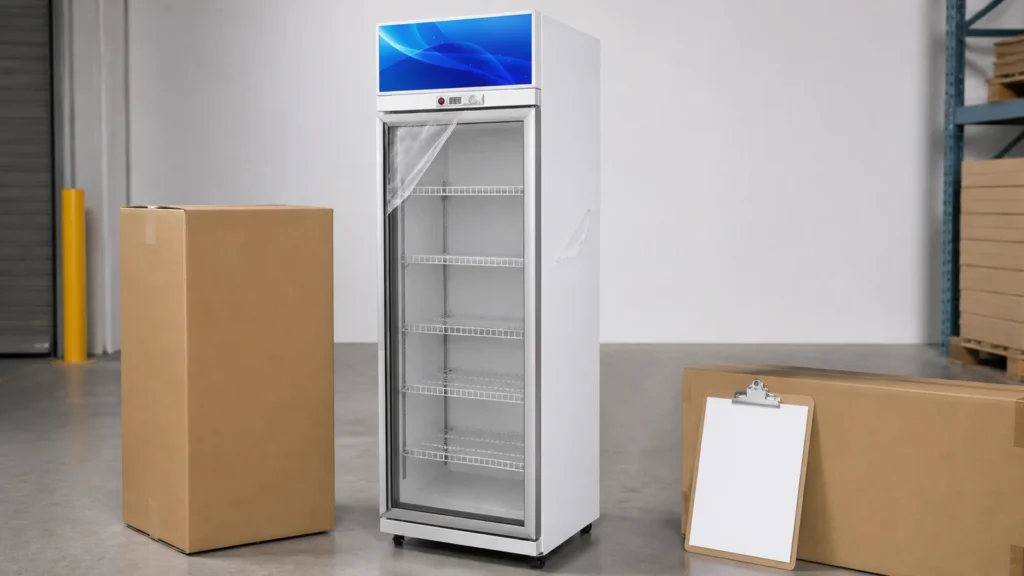
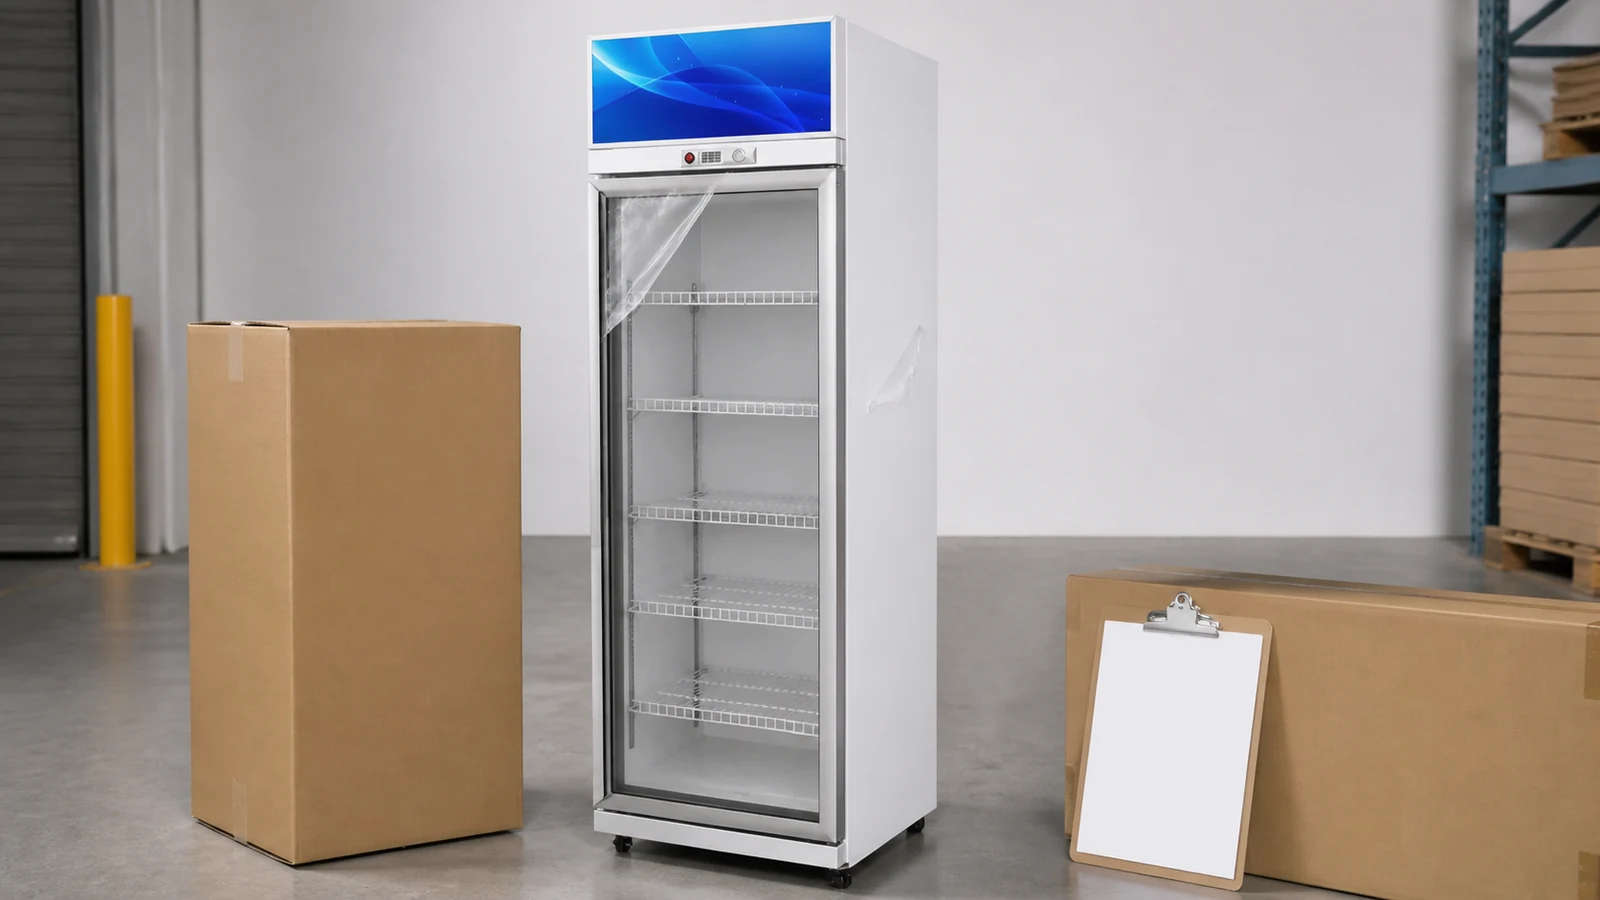
Protective film can keep a beverage cooler clean during manufacturing and transport, but it can also hide scratches, dents, frame marks, or adhesive residue until unpacking. Removing everything at once makes it harder to show which surface was concealed and how the unit arrived.
A staged inspection links package condition, film layer, revealed surface, and exact model before installation or store use.
Verify the Product Before Unpacking
Match carton label, model, door count, voltage and plug market, light-box option, shelves, and order reference. ICEAGE's current beverage cooler page lists one-, two-, and three-door upright glass-door models.
Photograph all package faces, labels, pallet or base, straps, impact marks, wet areas, and transport position. Record date and people present.
Keep each unit's evidence separate when several similar coolers arrive.
Make a Safe Unpacking Area
Use a clean, level, well-lit area with enough room to open doors and inspect panels. Protect staff from bands, sharp staples, broken glass, unstable packaging, and heavy components under the site's safety procedure.
If glass appears cracked or the cabinet is unstable, stop and obtain qualified handling support. Avoid moving or powering a visibly damaged unit simply to continue the checklist.
Keep customers and unrelated work away from the area.
Photograph Packaging Layers
Record carton, foam, corner pieces, bags, film, tape, and accessory boxes as each layer is removed. Keep wide views that connect local damage with the complete unit.
Number the sequence. A scratch revealed beneath intact film tells a different story from one beside torn packaging and broken film.
Retain packaging until receiving review is complete.
Map Every Film Area
Identify film on body panels, glass, frame, light box, trims, shelves, or other supplied surfaces. Confirm the supplier's removal method and timing.
| Surface | Before Removal | After Removal |
|---|---|---|
| Glass door | Film edge, bubbles, tears, impact | Full pane, edges, scratches, chips |
| Door frame | Film continuity and corner protection | Finish, joints, handle area |
| Side panels | Rub marks or punctures in film | Dents, coating, residue |
| Light box | Protective layer and carton pressure | Print face, frame, alignment |
| Shelves and accessories | Packaging and quantity | Finish, deformation, identity |
Remove one section at a time and photograph the newly exposed area.
Use the Approved Removal Method
Film type, adhesive, temperature, and time can affect removal. Follow the supplier documentation for direction, tools, cleaners, and surface care.
Avoid sharp blades, uncontrolled heat, or aggressive chemicals near glass, coatings, seals, labels, controls, and electrical components.
If film resists or leaves residue, preserve a sample and request guidance before experimenting.
Inspect Glass Systematically
View each pane from front and side under diffuse light. Record scratches, chips, cracks, edge contact, bubbles within any assembly, stains, and areas hidden by frame or seal.
Mark doors in a fixed direction on multi-door units. Photograph the full pane before close details. Reflections can look like damage, so take more than one angle.
Avoid testing glass strength or pushing on a questionable pane.
Check Door Frame and Visible Closure
Inspect frame corners, hinges, handles, seals, trim, and visible alignment. Open and close the door through normal movement under the supplier or installer procedure.
Record contact, rubbing, resistance, unusual gaps, damaged seals, or a door that fails to remain in the expected position. Avoid adjustment during the initial evidence stage.
Physical closure observation is separate from operating-temperature or performance verification.
Inspect Cabinet Finish and Light Box
Use consistent lighting on side panels, front edges, top, base, and light-box frame. Record dents, coating damage, shade variation, adhesive, pressure marks, and missing trim.
For customized artwork, compare with the approved revision. Keep spelling, color, placement, and physical damage as separate fields.
Avoid polishing a mark before the initial photo shows its condition.
Count Shelves and Accessories
Lay out shelves, clips, brackets, manuals, and supplied accessories by unit. Compare with the order and packing list. Record missing, damaged, and mismatched items separately.
Avoid installing a bent shelf or forcing a bracket to prove it fits. Preserve the received condition for review.
Keep protective film on parts until the relevant inspection step.
Separate Appearance Inspection From Startup
Unpacking and surface acceptance are separate from installation, stabilization after transport where required, electrical checks, and commissioning. Use the model manual and qualified personnel for those steps.
The listed beverage-cooler range is 0~10 C for chilled display. Avoid using a visual inspection as evidence of temperature performance.
Record who authorizes movement to the next stage.
Build a Defect Map
Assign each observation a unit, door or panel, zone, wide photo, close photo, size reference, package relationship, and status. Use factual language.
For example: "Right side panel, upper rear zone, 40 mm linear surface mark visible after intact film removal." That is stronger than "bad finish."
Keep cleaned and uncleaned conditions distinct.
Close or Escalate the Receiving Case
Combine order, model, package labels, unpacking sequence, film map, glass review, frame and closure observations, finish, light box, shelves, accessories, defect map, and requested action.
The supplier, carrier, buyer, and installer may have different responsibilities. Preserve evidence without assigning cause prematurely.
After acceptance, use approved cleaning and installation procedures. The glass misting observation article applies later during store operation.
Related Reading
- Beverage Cooler Delivery Path supports movement before unpacking.
- Beverage Cooler Glass Misting Log covers a later operating condition.
Common Questions
Should all protective film be removed immediately?
Follow supplier timing and the staged inspection plan. Preserve package and film evidence as surfaces are revealed.
Can adhesive residue be cleaned right away?
Photograph it first and use only the approved cleaner and method.
Should the cooler be powered during receiving inspection?
Startup belongs to the model-specific installation and commissioning process after transport and condition checks.
What if a mark appears only in reflected light?
Photograph several angles and state the viewing condition rather than enhancing the image.
Send the Staged Photo Sequence
Use the ICEAGE contact page to send the model, package labels, untouched carton views, removal sequence, film area, revealed surface, defect map, accessory count, and requested response. The sequence helps distinguish concealed condition from later handling.